The Concrete Pavilion
13th November 2019Words by Fahad Malik.
Next week marks the practical completion of my first project using in-situ concrete, providing valuable lessons in design, detailing, and construction. Throughout this process, several key technical issues emerged.
Sample Testing
Before the main pour, I requested the contractor to create a 600x600x600 concrete sample to evaluate corner conditions, surface finish, and formwork joints. The mix used 40% Ordinary Portland Cement (OPC) and 60% Ground Granulated Blast-furnace Slag (GGBS), with a water-cement ratio of 0.5 and a cement-to-aggregate ratio of 1:6. The sample, encased in 18mm MDO film-faced plywood formwork, required two coats of release agent. Despite this, the sample took several days to stabilise its color, which resembled light marble with a smooth, glossy finish. We discovered that using wood filler instead of silicone for formwork joints created cleaner, neater lines.
Reinforcement
The importance of having comprehensive reinforcement drawings was highlighted during construction. Our contractor needed guidance, prompting us to request prioritised rebar schedules from the structural engineer. This was crucial, especially for the in-situ concrete kitchen island with its significant cantilevers, requiring precise steel reinforcement to address concrete’s poor tensile strength.
Formwork
Detailed drawings of the formwork were essential due to the inevitability of visible joints caused by the pressure of the poured concrete. I aligned the formwork sheets with structural elements like columns and rooflight upstands, making any imperfections appear intentional. Two coats of Nufins Chemlease release agent were applied meticulously to prevent surface retardation.
Temporary Works
The contractor managed the temporary works, which involved extensive support structures, including acrows and timber frameworks, to hold the concrete in place. Although this approach worked, slight bowing of the concrete occurred in areas without clamps, underscoring the need for a detailed temporary works design in future projects.
Shadow Gaps
Shadow gaps presented challenges, particularly at the column-to-soffit intersection. Using glazing beads for these gaps proved too intricate, leading to difficulties in achieving clean lines. I learned that shadow gaps should only be used when necessary, with larger tolerances to ensure clean execution.
Thermal Breaks
To address cold bridging at the window head, we used Ancon thermal breaks, carefully integrated into the rebar. However, the lead time for these components delayed the project, highlighting the importance of early planning.
Sequencing and Compaction
The pouring sequence could have been improved by allowing the ceiling to dry before pouring the upstands, which would have simplified the process. Additionally, careful compaction using electrical pokers was necessary to avoid defects like poker burns and blow holes.
Sealing
Finally, sealing the concrete after it dried was essential to protect the surface. I specified a water-repellent, vapour-permeable sealer, Facael Oleo, for both internal and external surfaces. The parapet detailing used liquid-applied waterproofing to maintain a clean aesthetic without visible flashings.
This project taught me that while my initial instinct was to tightly control every aspect of the concrete work, the beauty of in-situ concrete often lies in its imperfections—subtle variations in color, texture, and form that contribute to its unique character.
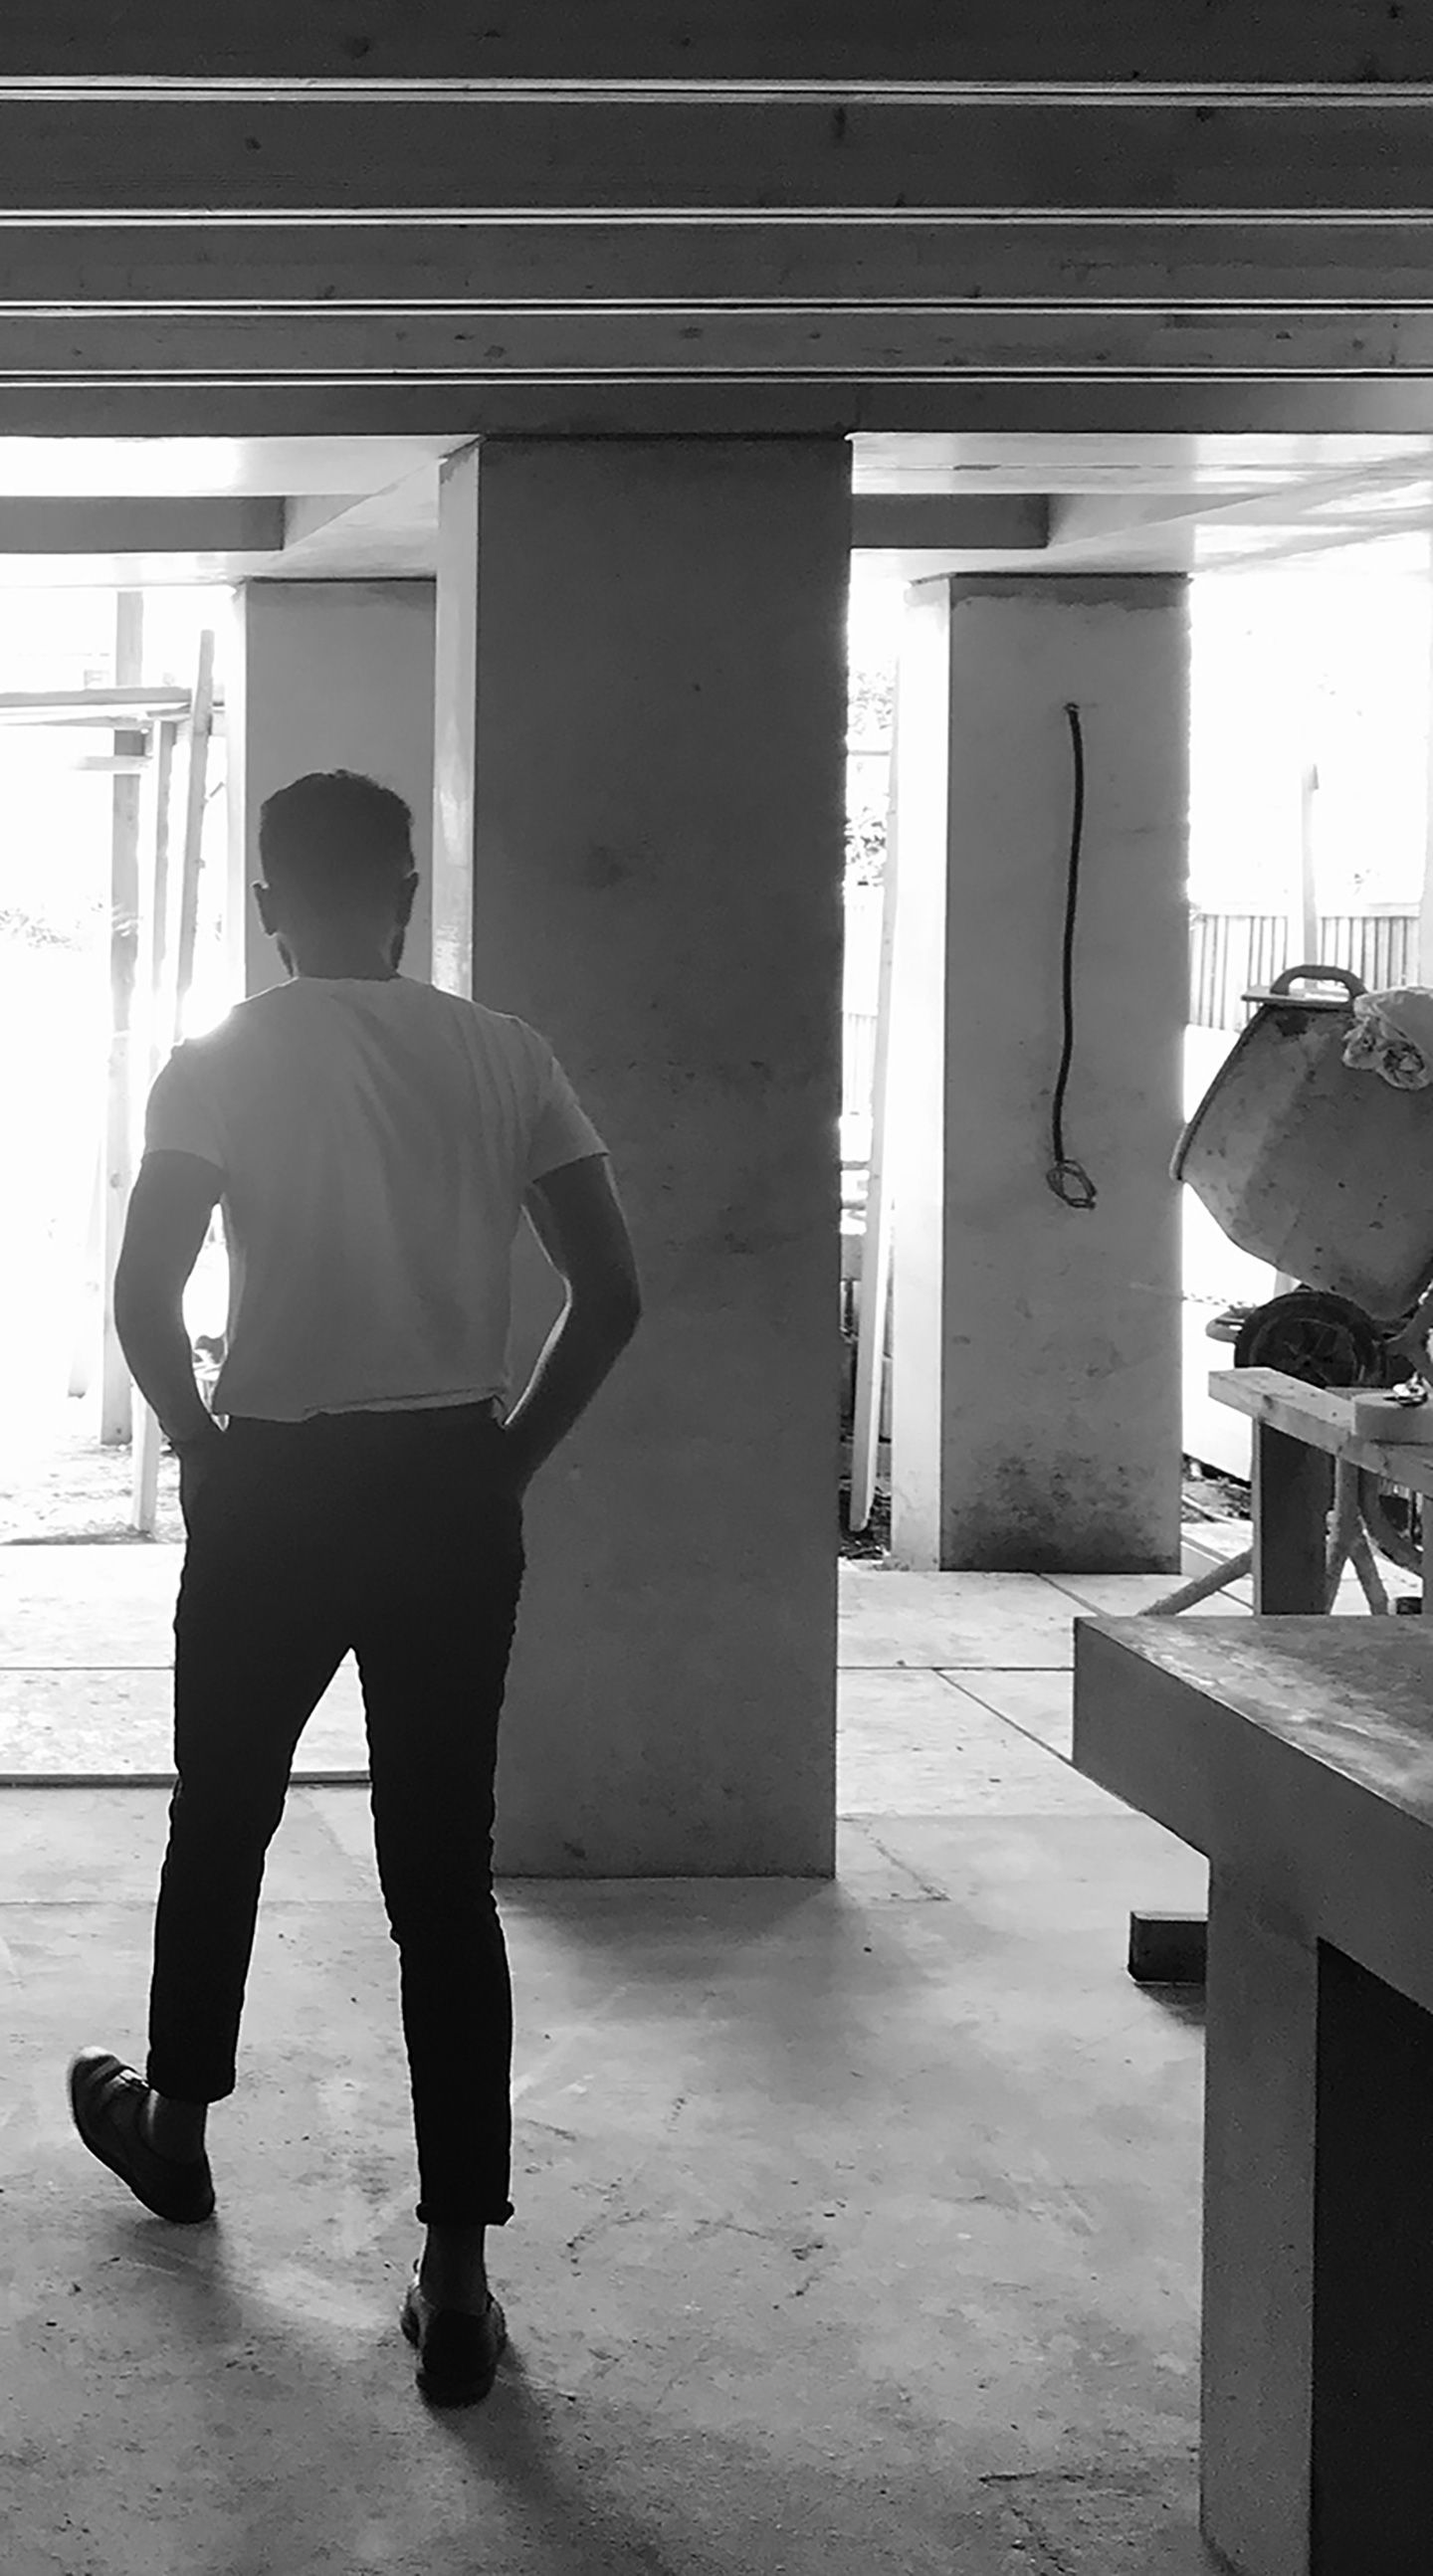
Image: Site Inspection/ August 27th, 2019.
